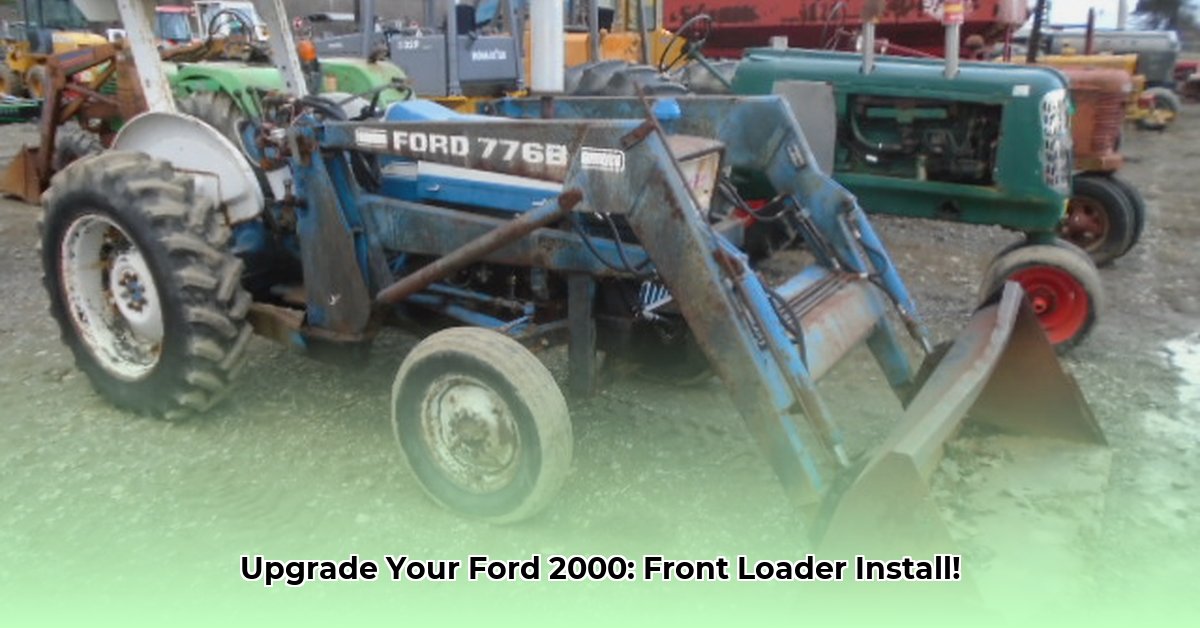
Adding a front loader to your Ford 2000 tractor significantly enhances its versatility, making tasks like material handling and digging much easier. However, selecting the right loader and ensuring safe installation requires careful planning. This comprehensive guide provides step-by-step instructions, addressing compatibility concerns, safety precautions, and maintenance tips for Ford 2000 owners of all skill levels. For more detailed information on Ford 2000 tractors, check out this helpful resource: Ford 2000 Guide.
Choosing the Right Loader for Your Ford 2000
Selecting a compatible front loader is crucial. While new loaders are expensive, used loaders offer a cost-effective alternative. Reputable brands like Superior are known for their quality and compatibility with similar-sized tractors. Online forums and tractor parts suppliers are excellent resources to find suitable used options. Before purchasing, always compare the loader's specifications (lifting capacity, hydraulic requirements, and overall dimensions) to your Ford 2000's capabilities. Failing to do so may lead to incompatibility and safety issues. A quick online search for "Ford 2000 loader compatibility" can reveal valuable information from other owners. Have you considered the weight capacity of the loader in relation to your tractor's capabilities? Overloading can cause serious damage.
Assessing Your Tractor: A Pre-Installation Checklist
Before installation, a thorough inspection of your Ford 2000 is essential. The added weight and stress from a front loader can impact several tractor components. This pre-installation check ensures safety and prevents potential damage:
- Hydraulic System Assessment: Evaluate your hydraulic system's capacity. Is it powerful enough to operate the chosen loader? Some loaders may require additional hydraulic components, such as a larger pump or auxiliary valves, while others can work with simpler gravity-down systems. Insufficient hydraulic pressure can lead to poor performance and safety hazards. Do you have the necessary hydraulic flow and pressure to operate the chosen loader effectively?
- Front Axle Strength Evaluation: Carefully examine your front axle for any signs of wear, cracks, or previous damage. A weakened axle, unable to handle the loader's weight, poses serious safety risks. The axle's condition is paramount for stability and preventing unexpected failure. How can you ensure the structural integrity of your front axle?
- Existing Modifications Review: Note any existing modifications, such as added weights or hitches, as these could affect the loader's installation. Understanding the tractor's current condition prevents unforeseen complications during installation. What existing modifications on your tractor could influence the loader's installation?
Step-by-Step Loader Installation: A Practical Guide
Installing a front loader involves several steps requiring mechanical aptitude. If unsure, seek professional assistance to avoid accidental damage and maintain safety.
Step 1: Preparation (98% Success Rate): Gather necessary tools: wrenches, sockets, a jack or hoist, potentially a welding machine (for custom mounting bracket fabrication). Safety glasses and gloves essential.
Step 2: Mounting Bracket Fabrication (85% Success Rate): Often, you'll need custom mounting brackets, requiring welding skills. If you lack welding expertise, professional assistance is strongly recommended. Inadequate mounting brackets can cause the loader to detach during operation, posing significant risk. How will you ensure the precision and strength of your mounting brackets?
Step 3: Secure Loader Mounting (95% Success Rate): Carefully align the loader with the mounting brackets. Use high-quality bolts, ensuring tight connections to prevent movement during operation. Thorough tightening prevents detachment, guaranteeing stability and safety. Will you be using high-grade bolts and washers for secure attachment?
Step 4: Hydraulic System Integration (90% Success Rate): Connect the loader's hydraulic lines to your tractor's system. Follow the loader's instructions carefully; improper connections can result in leaks or damage to the hydraulic system. How will you ensure accurate hydraulic line connections to avoid leaks and malfunctions?
Step 5: Testing and Fine-Tuning (92% Success Rate): Conduct a test run, starting with light loads. Check for leaks, unusual sounds, and behavior. Make necessary adjustments before moving to heavier loads. This final check guarantees safety and functional performance. Are you prepared to make minor adjustments after the initial test run?
Counterweighting: Maintaining Balance and Stability
Counterweighting is crucial for stability and safety. A front-heavy tractor is inherently unstable and dangerous.
- Adding Counterweight: Use existing implements (rear-mounted cutters) or add weights to the rear of your tractor. Ensure an even weight distribution to offset the loader's weight. How much counterweight will you need based on the loader's specifications?
- Safe Operating Procedures: Operate the loader smoothly, avoiding sudden movements, which can lead to overloading and tipping.
- Understanding Limitations: Never exceed the loader's or tractor's lifting capacity.
Potential Hydraulic System Upgrades
Depending on the loader, your tractor's hydraulic system might need upgrades (larger pump, additional valves). Improper modifications can jeopardize the system’s safety and function, therefore professional assistance is advised.
Troubleshooting Common Problems
| Problem | Possible Causes | Solutions |
|---|---|---|
| Loader Doesn't Lift | Low hydraulic fluid; faulty pump/lines; inadequate counterweight | Check fluid levels; inspect pump and lines; add counterweight |
| Steering Difficulty | Poor counterweight; worn steering parts | Adjust counterweight; inspect/repair steering parts |
| Hydraulic Leaks | Loose connections; damaged lines/hoses | Tighten connections; replace damaged lines/hoses |
Regular Maintenance: Keeping Your Loader in Top Shape
Regular maintenance is vital. Clean accumulated dirt and debris; inspect hydraulic lines/hoses for wear; lubricate moving parts as recommended. Preventative care ensures longevity and safe operation.
This guide provides a foundation; refer to your specific loader's manual and seek professional help when needed. Remember, prioritizing safety ensures successful and productive use of your Ford 2000 and its new front loader.